Video released on 30/08/2024
Why use data attribute routing?
This Zaptic feature is useful when working with workflows that use data points and targets (such as but not limited to Centerlines), where you can call and display specific information from the data management’s unique hierarchy for the operators.
What is a data attribute?
To see your data attributes, first go to the Data Management tab in the Zaptic Portal and select a Unit Type you'd like to dive into.

Under your selected Unit Type, you'll see a list of all the Units from that Unit Type:
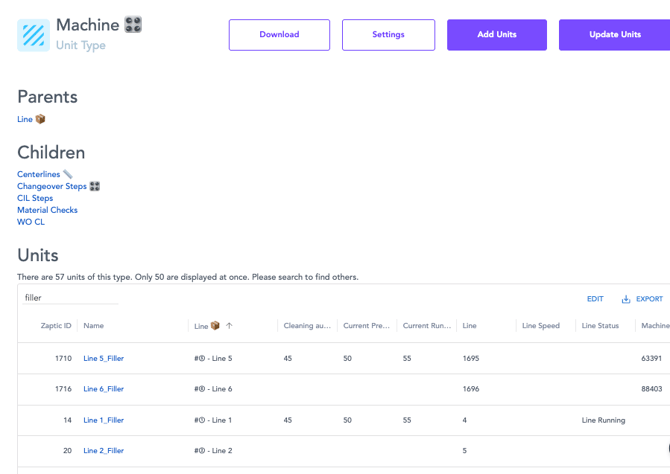
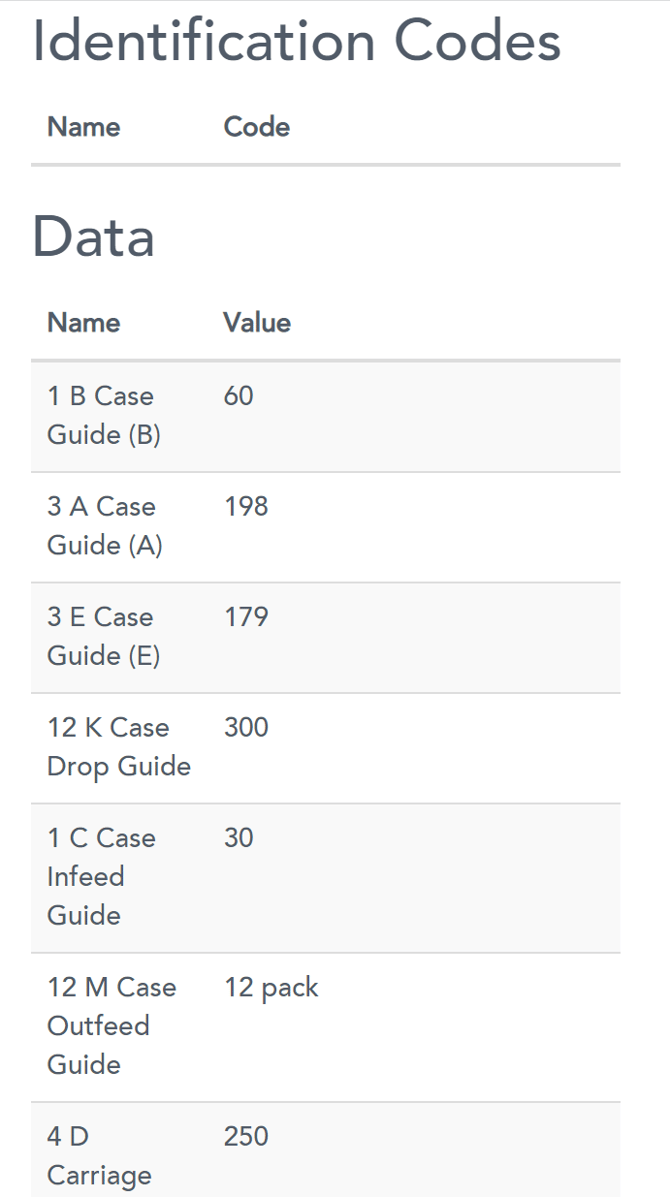
→ These are data attributes and are pieces of information we can call into workflows.
Procedures
Now you’ve identified your Data Attributes, let’s add them to your workflow.
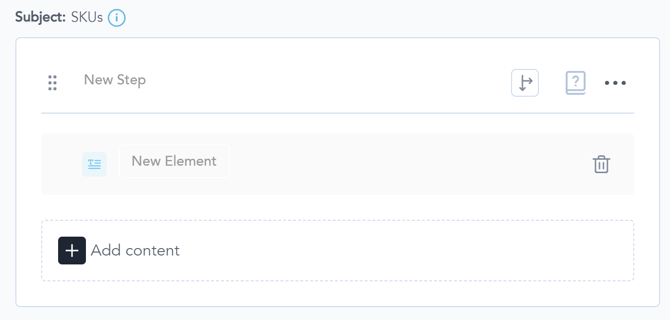
To add or call Data Attributes to your workflow, add a Text Content element and in the text field on your right side of the screen insert a “#” symbol (you may know this as a Hashtag or a Pound sign).
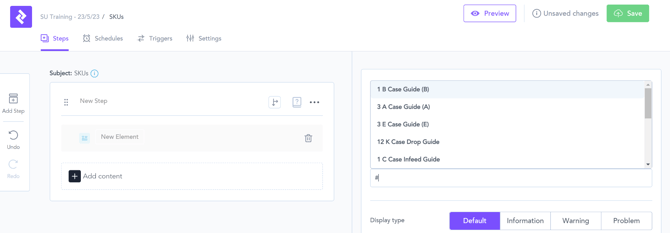
This will display a list of Data Attributes you will be able to call in the workflow.
The Data Attributes available in the list will be strict dependent on your workflow subject. I.e. the list will display only data attributes available in each unit of the SKUs folder in Data Management.
Customising your data points
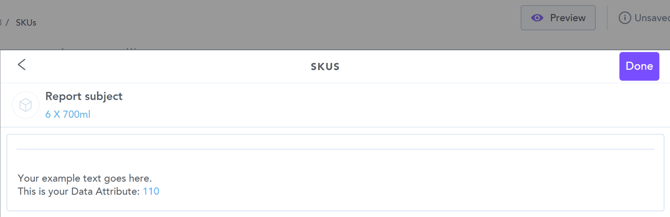
Once a data attribute has been selected from the list, it will be displayed in a blue text format both in the portal but also in the App for the operators.
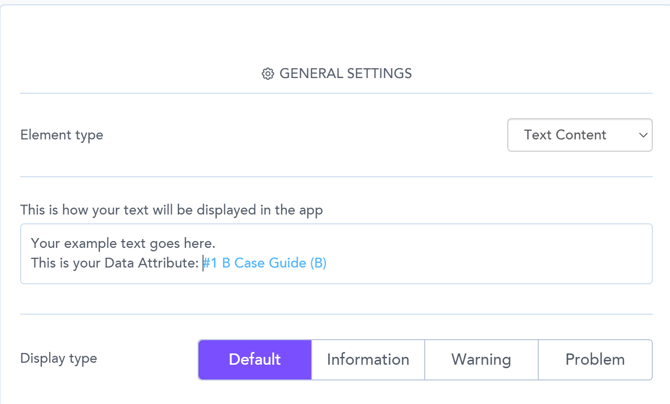
This will be your indication that the information you see is coming from the Data Management hierarchy.
You can add text in front or after the data attribute, to provide more context of the target/data point the operator will see in the workflow.
You can add as many data attributes as you need in each text field element i.e. in case you would like to display multiple targets such as Min/Target/Max.
Routing
You can route your workflow depending on the Data Attribute value.
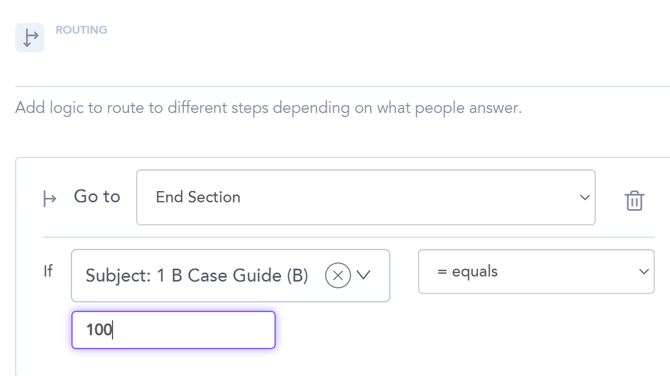
To do this - select the Route button and begin to add routes.
Example: If the 1 B Case Guide (B) equals to 100 -> go to End Section.
You can then add new route for if 1 B Case Guide (B) would be higher than 100 -> go to another step of your workflow.
Final notes
-
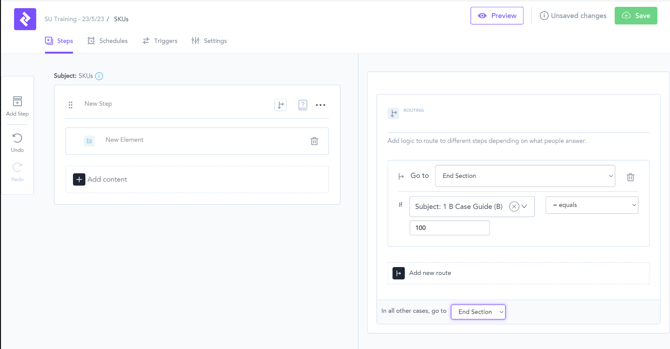
- When you do not want any more steps to show, make sure you select for the workflow to go to End Section.
This will ensure your workflow will follow the routing you’ve designed and stay on track.
-
- Please make sure you Save your changes and Preview your workflow
- Please make sure you Save your changes and Preview your workflow