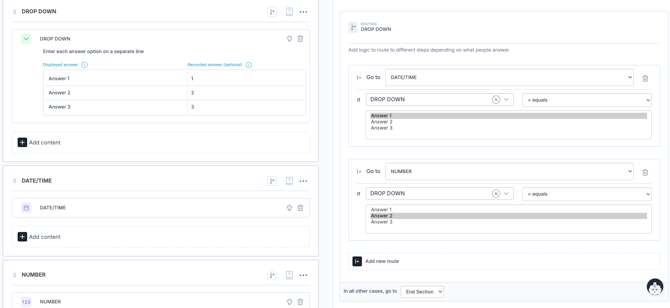
Adding Task Elements within a Flow
When creating a new Task/Training flow, there are a number of different elements that you can choose from to create your unique flow.
In general, each element is configured on the right hand side of the flow builder screen and on the left is where you will access the settings, conditional elements or routing related to that element or the step with which it is in.
Within the settings, there is always the option to toggle an element between mandatory/non-mandatory as well as add an element/answer tag.
Head to the Tags article for more information on the importance of element/answer tags.
The ability to make or append information to a report title is available across a selection of elements within the General Settings. This ensures that the generic task/training name is replaced with user entered values therefore, making the report title unique, easier to search and clearer.
The "Show Answer History" toggle is also available for several elements. This can be used to display the last 50 values given for this question (within one click) during execution. This historic data takes into account report subjects and content loop subjects.
Other settings change based on the element in question. Below are explanations of each of these elements and their settings.
Reminder: Use the eye icon in the top right corner to preview your flow at any time.
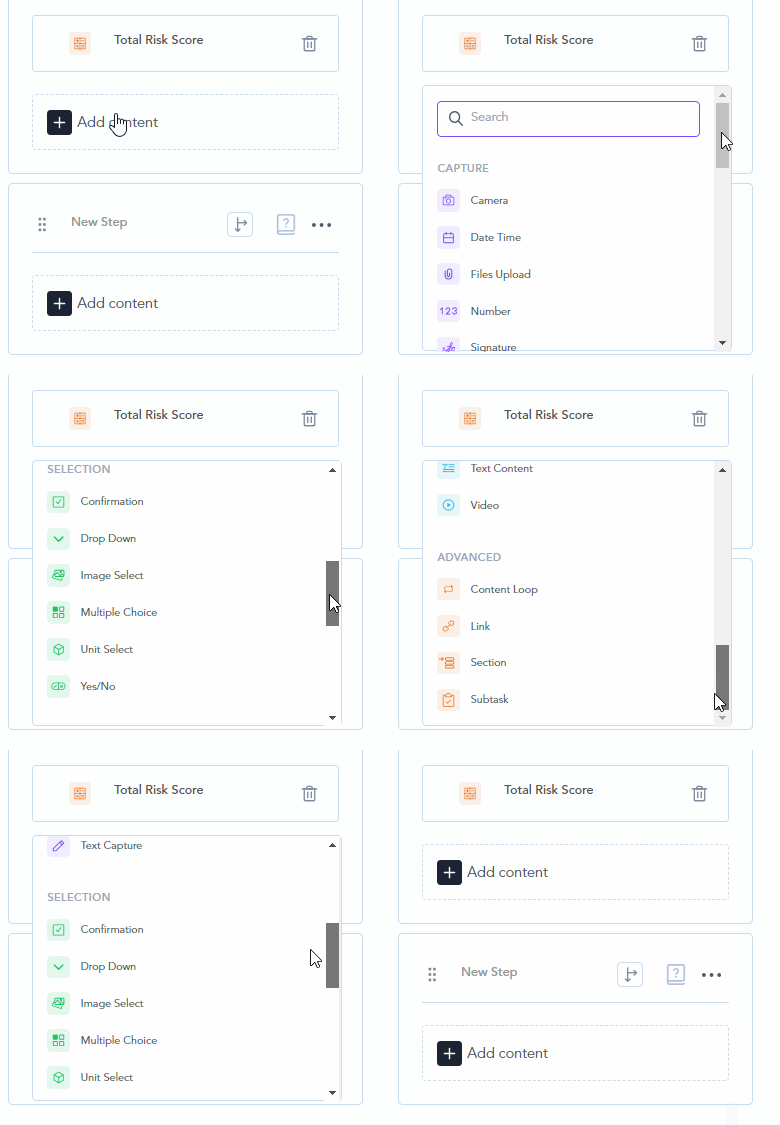
CAPTURE
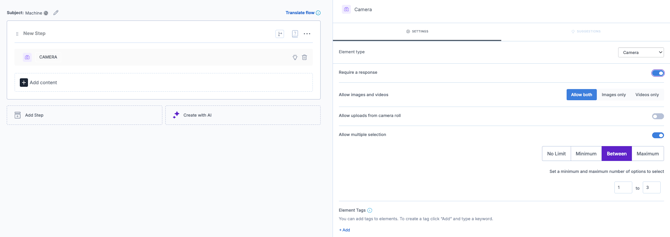
➡️ Capture : Camera
Opens the device's camera or gallery to upload an image or video as part of any task.
Settings
-
Select between Images, Videos, Both
-
Allow uploads from camera roll
-
Allow multiple selection permits more than one image/video to be uploaded. Once toggled, additional criteria can be added as to how many.
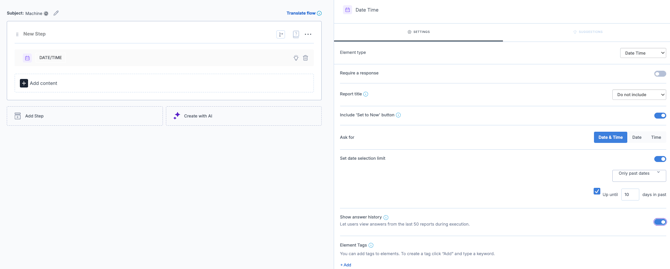
➡️ Capture : Date Time
Captures a specific date/time combination. By default, the timestamp captured is the time of the device at which the report was started.
Note, this is separate to the automatic start and end timestamp that is provided with every report.
Settings
-
Append to or make report title
- Add a "Now" button to set the time
- Toggle between Date Only, Time Only or Date + Time
- Add a limit to either future or past dates with additional settings available
- Show answer history toggle
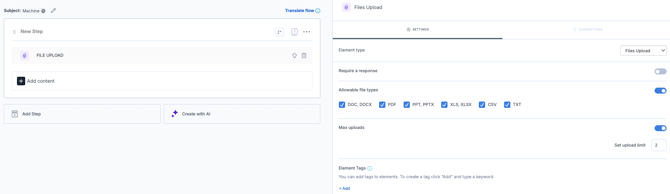
➡️ Capture : Files Upload
Enables a file upload directly from execution.
Settings
- Select allowable file types
- Enter maximum number of file uploads
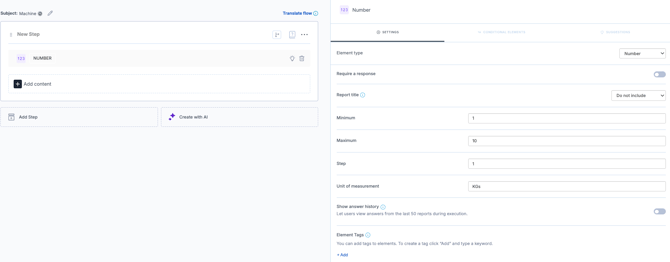
➡️ Capture : Number
Captures numeric data only.
Settings
-
Add minimum and maximum values
- Add a step to specify the increments in which the response can be added. For example, if the answer should be rounded to the nearest whole number, the step increment is 1.
- Add a unit of measurement
- Show answer history
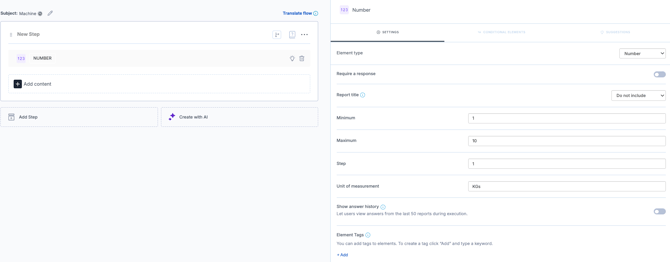
➡️ Capture : Signature
Digital sign on the glass capability.
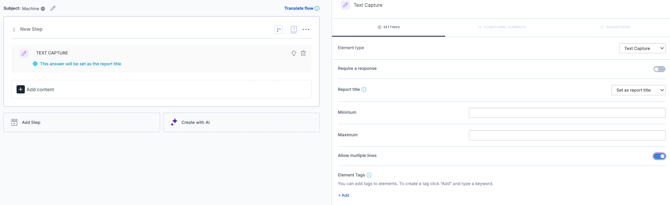
➡️ Capture : Text Capture
Capture alphanumeric information.
Settings
- Set minimum and maximum character length
- Toggle between single and multiple line responses
SELECTION
➡️ Selection : Confirmation
Confirm a statement using a standard checkbox.
Settings
-
Show answer history toggle
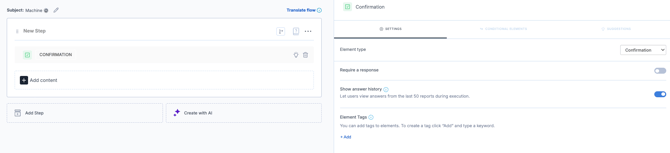
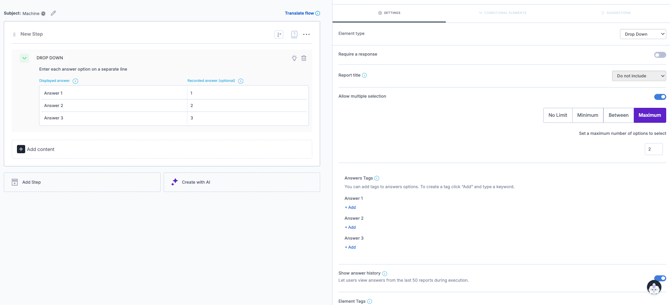
➡️ Selection : Drop Down
Select from a list of options within a collapsible list. Use both the display and the recorded answer to differentiate from what the user sees on execution (display) and what is recorded for analytical purposes (recorded).
Answers for both the recorded and the display column can be pasted directly from an excel sheet.
Settings
- Allow multiple selection permits more than answer to be selected. Once toggled, additional criteria can be added as to how many.
- Show answer history
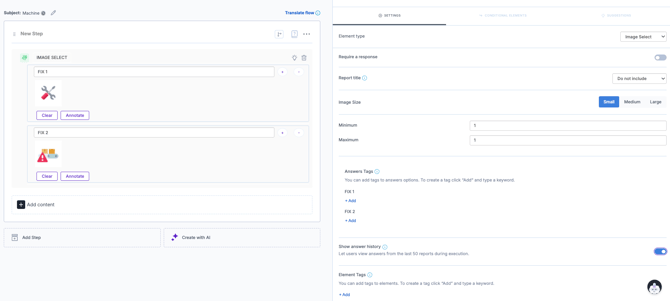
➡️ Selection : Image Select
Similar to a standard multiple choice but with the option to represent each of the answers with a visual. Note that visuals can be annotated directly within Zaptic if required.
Settings
-
Select between S, M, L image button size
- Add a minimum and maximum for responses
- Show answer history toggle
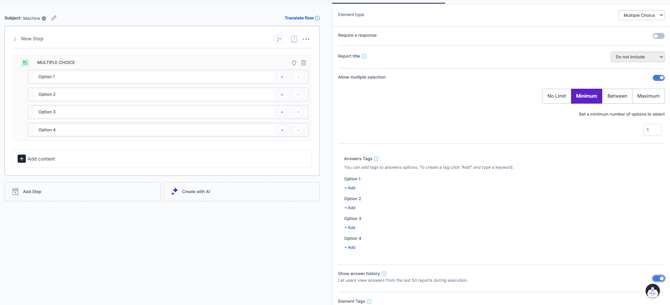
➡️ Selection : Multiple Choice
Standard multiple choice in which lists are itemised and all items are visible by default.
Settings
- Allow multiple selection permits more than answer to be selected. Once toggled, additional criteria can be added as to how many.
- Show answer history toggle
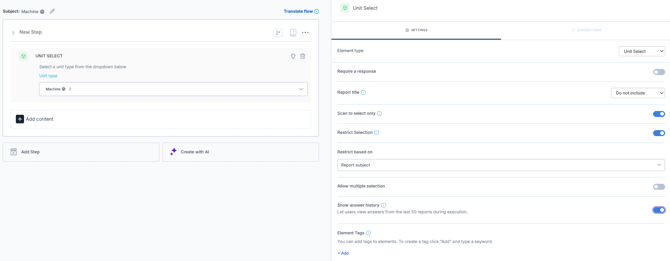
➡️ Selection : Unit Select
Select from a predefined list of units created in Data Management. This is a good option to manage a single list across multiple flows.
Settings
-
Enable scan to select only ensuring a barcode at a specific location must be scanned to proceed. Note: The unit type must have barcode lookup enabled in the settings for this setting to be visible.
- Restrict the permitted selection based on the report subject or parameter
- Allow multiple selection permits more than answer to be selected. Once toggled, additional criteria can be added as to how many.
- Show answer history toggle
➡️ Selection : Yes/No
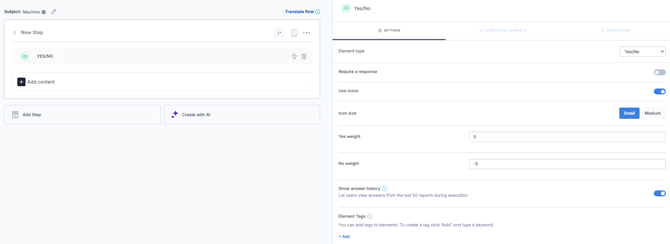
Toggle between 2 boolean options of yes or no.
Settings
- Option to use ✅ and ❌ icons
- Toggle between small and medium size
- Option to add a numeric weight to yes/no answers. Note: This is useful for audit style use cases which include calculations.
- Show answer history toggle
DISPLAY
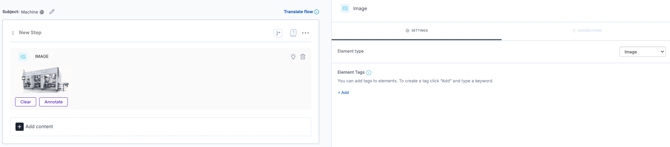
➡️ Display : Image
Add an image or visualisation at any point of the flow. Note: The image can be annotated directly within Zaptic.
➡️ Display : Text Content
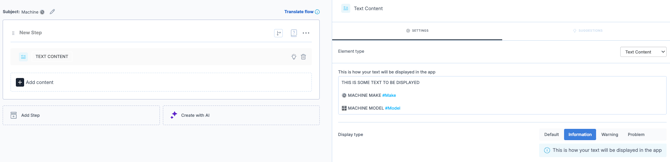
Add text/instruction/warnings at any point of the flow.
Settings
-
The content of the text itself is created/edited in the settings. The content is mandatory, the title on the right-hand side pane is not.
- Using the # symbol allows you to add unit data attributes based on the flow subject.
For more information on unit data attributes please refer to Data Management and Data Attribute Routing articles.
➡️ Display : Video
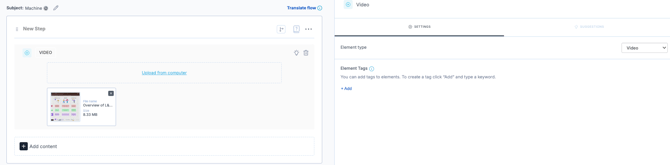
Add a video or visualisation at any point of the flow.
ADVANCED
➡️ Advanced : Content Loop
The content loop is a great way to quickly and dynamically configure repeating questions for multiple items in a list.
Settings
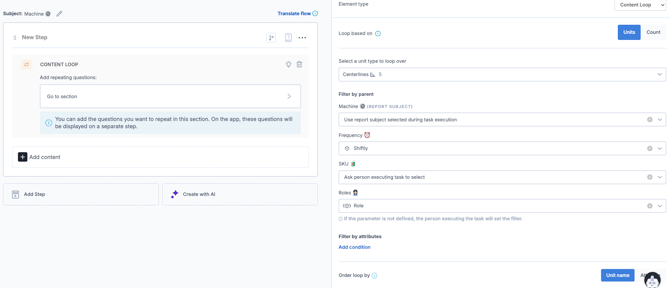
- Select between looping through units or looping through a count
- Units: Repeat questions based on alist of items stored in data management
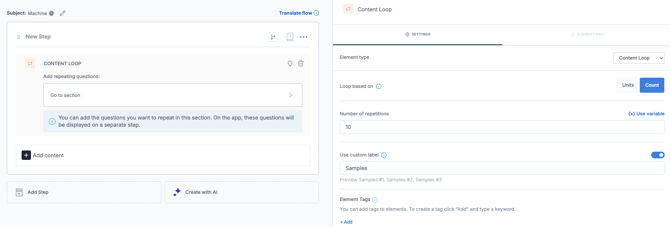
- Count: Repeat questions based on a numeric variable
- If Units
- Filter by parent
- Filter by attribute
- Order loop by
- If count:
- Select method for number of repetitions
- Apply custom label
Head to the Content Loop article for detailed information on configuration.
➡️ Advanced : Function Element
A Function element is a little calculator you drop into a flow. It doesn't ask the operator anything. Instead it looks at answers that have already been given, does something with them, and shows a result.
Think of it like a formula cell in a spreadsheet. The operator fills in the boxes; the Function element does the sum.
Settings
This is where you configure the formula for the function element. See example below
The description behind the formula:
- The first part explains what the scoring applies to each of the image select question.
- answer("TagName") - is used to represent the number questions with a tag. Answer is used in the singular when it represents a single question and in the plural when more than one.
- The last 3 lines multiply the answer for each of the 3 questions using the * operation
The formula:
var map = {
"Happy" : 5,
"Neither Happy nor Unhappy" : 3,
"Unhappy" : 1
}
answer("Zap_Boxes_Returned")
*answer("Zap_Sales_Value_Return")
*map[answer("Zap_Customer_Sentiment").label]
The visual:
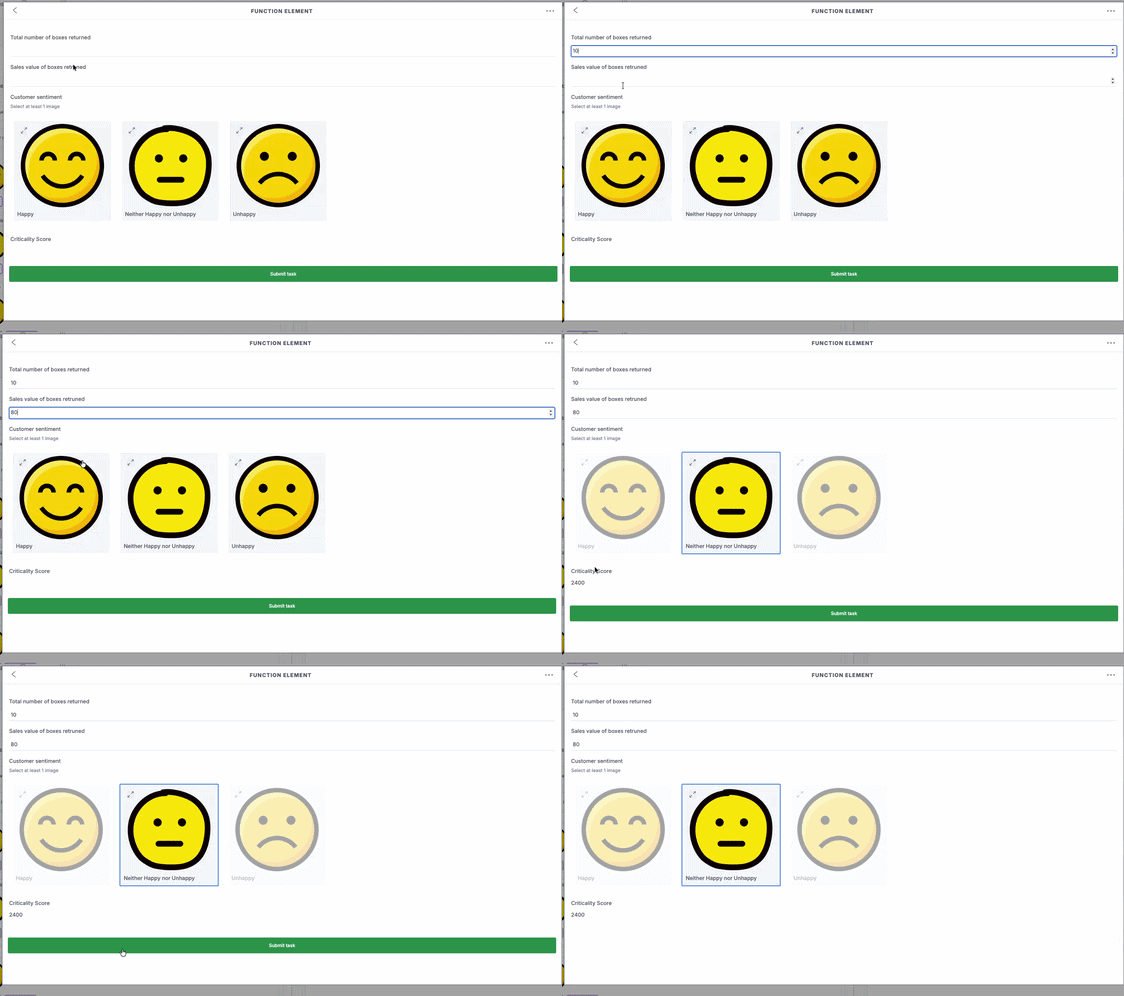
For more information on the Function Element refer to the Function Element article.
➡️ Advanced : Guide
Embed a guide (from Zaptic's Guide tab) directly into the flow.
Settings
-
Activate dynamic guide display
- Based on report subject, report subject parent, content loop subject.
- Select relevant tag
- If dynamic guide display is not activated, select the relevant guide from the list to be displayed.
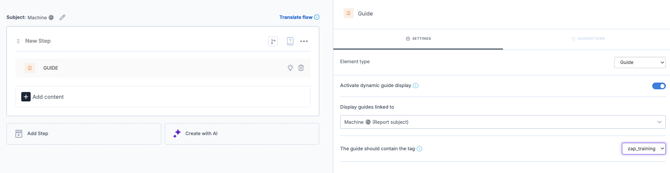
Read Home For Guides to find out more about using dynamic guides.
➡️ Advanced : Link
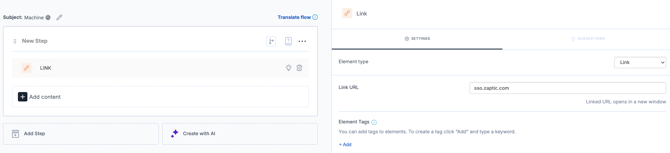
Embed any hyperlink and make it accessible directly from the flow.
Settings
-
Add the exact URL to be opened upon click
➡️ Advanced : Section
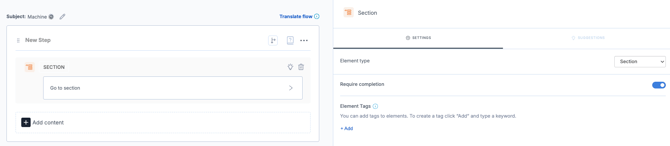
Separate long flows so that questions appear within a subsection using the section element.
➡️ Advanced : SubTask
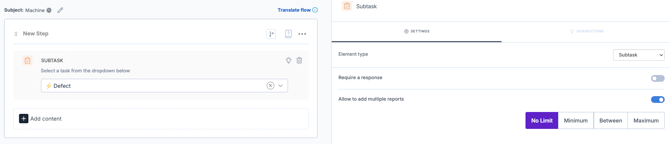
Embed a previously created task/training flow directly into another flow. This ensures you only have one standard to update and maintain whilst making it available at the point of use!
Settings
- Allow to add multiple reports permits more than one of the subtask report to be added to the main report. Once toggled, additional criteria can be added as to how many.
Conditional element vs. Routing
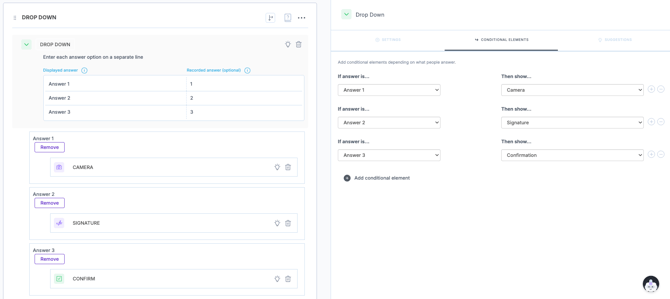
Conditional elements are a way to implement basic "If this, then that" logic. They are used to enable one level of additional questions within any given step in a flow.
Routing on the other hand is the way to implement multi-level deep additional paths of questions across multiple steps.
Conditional Elements
-
For any data capture element, conditional elements can be added in the left-hand pane.
-
One or multiple conditional questions can be added for any given answer but they remain only a single level below the original question.
Routing
-
Routing is accessible via the arrow icon at the top right corner of every step in every flow.
-
New routes can be added to represent how execution of any given process should progress through a specific path based on the answers given by the user.
-
Reminder: When creating routing it is across steps rather than within so any additional questions/content should be built in a new step.
- Reminder (2): By default, the path taken in any given flow will always be from top to bottom unless routing is created. It is important to add the logic for "In any other case" to ensure you cater for all the given pathways.